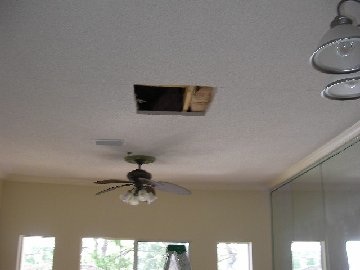
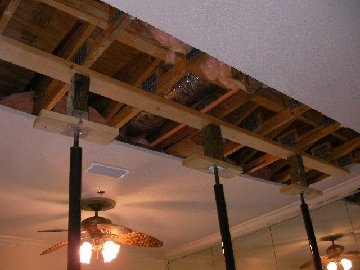
This is the initial inspection hole that we cut to find the problem.........
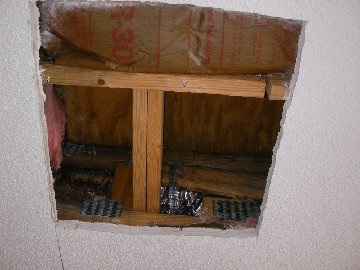
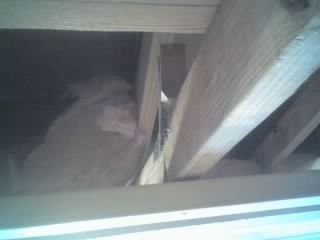
we opened up farther, and here you can see the large gap at the bottom of the truss 'butt-joint'.....to the right of the opening....we then cut farther...
see the gap..? Should have been tight........used to be...
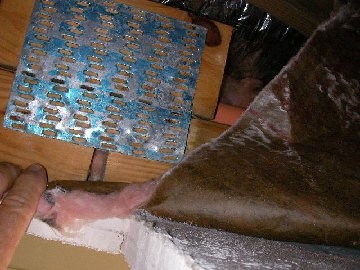
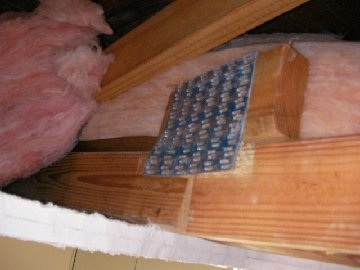
truss brackets were failing under stress and weight....2 layers of sheerock......
brackets were sliding off....
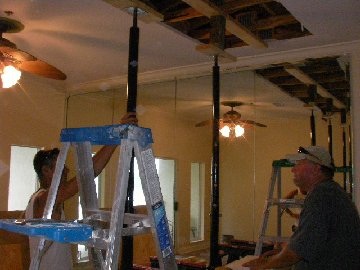
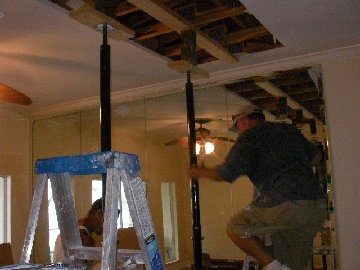
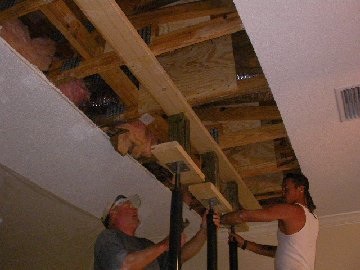
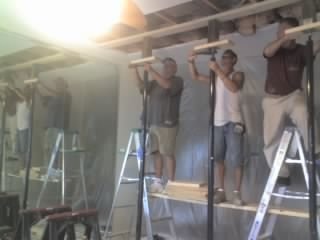
we put a beam in place...and put our Jacking Posts in place......
and we began to methodically jack the truss's up as we watched the gap close up...we also put a beam on the floor so we didn't put any undue pressure on the Unit on the 2nd floor's ceiling...
and inch by inch we jacked the 4" sag out of it..and got it ready for new plywood truss brackets....
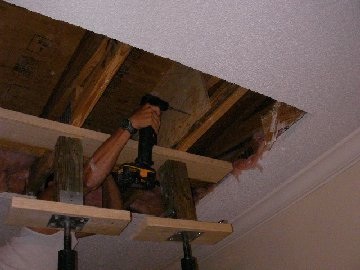
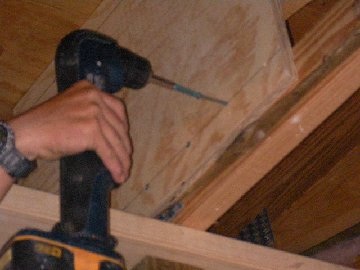
then we got up in the cavity and started screwing the brackets into the truss's...
we spaced our high-strength screws for maximum strength..
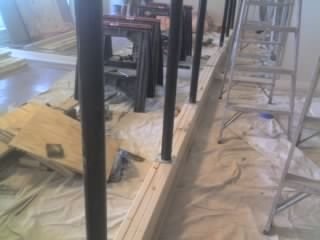
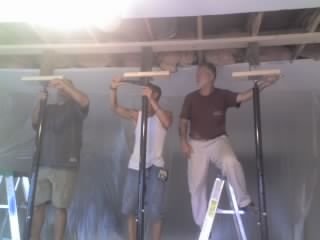
and then started lowering it down....
and the protective floor beam we had to assemble to protect the ceiling below
when we got it jacked back in place, the old brackets just pulled away...
this is where we were all lowering in sequence...
and we got it to a 1/4" tolerance from the original 3 3/4" sag